


5 tips for web programmers
Learn about helpful tools and tricks in web development


Introduction
This blog will provide you with tips and tricks helping you enhance and speed up your web development journey. So, without any further delay let's begin
Terminal
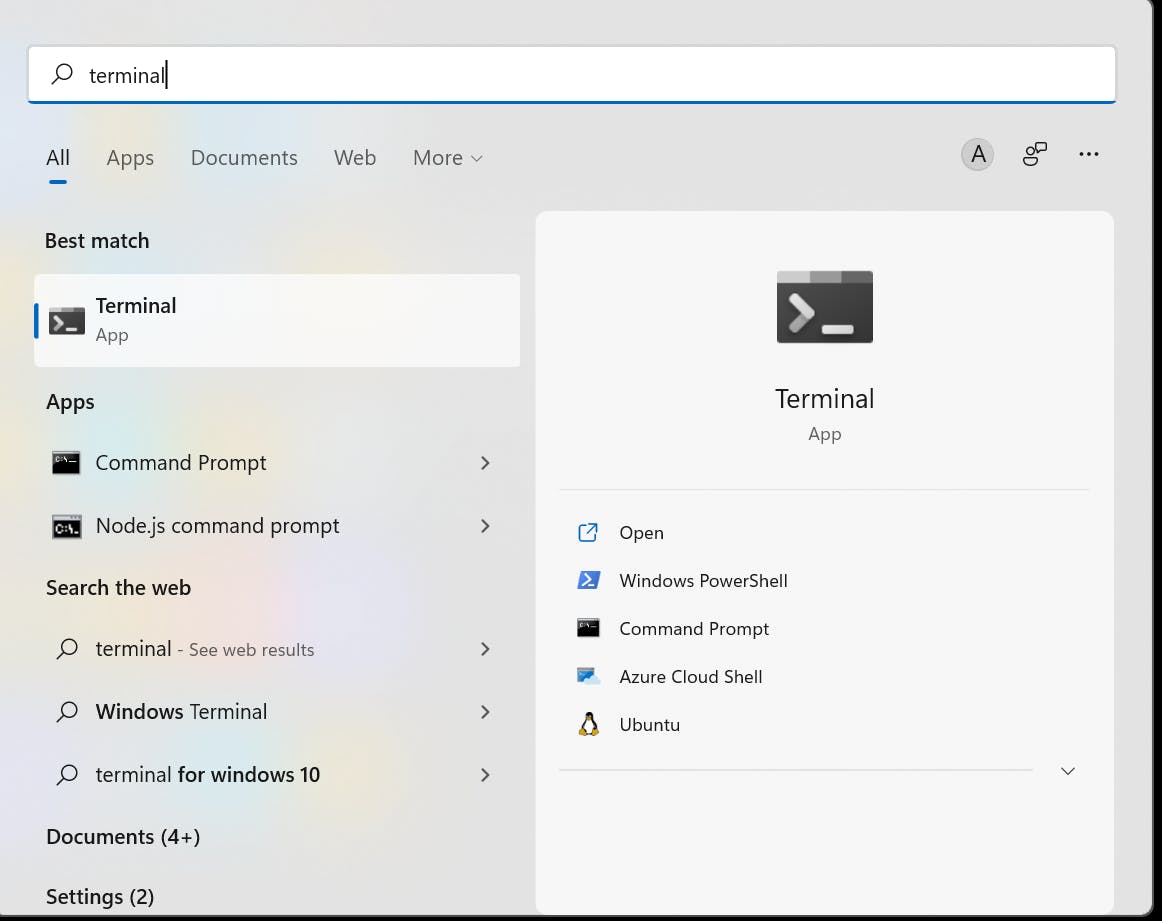
If you use the Windows OS, you have most likely used command prompt or powershell to issue commands such as running an application, creating new files and so on. But with the terminal application introduced, you can now run commands in a more convenient manner.
Say I have to run a database, backend server and a frontend. In the traditional approach, I will have to create three different command prompt windows. But with the terminal, you can create new tabs. What's more is you can rename and color them to identify each block of commands.
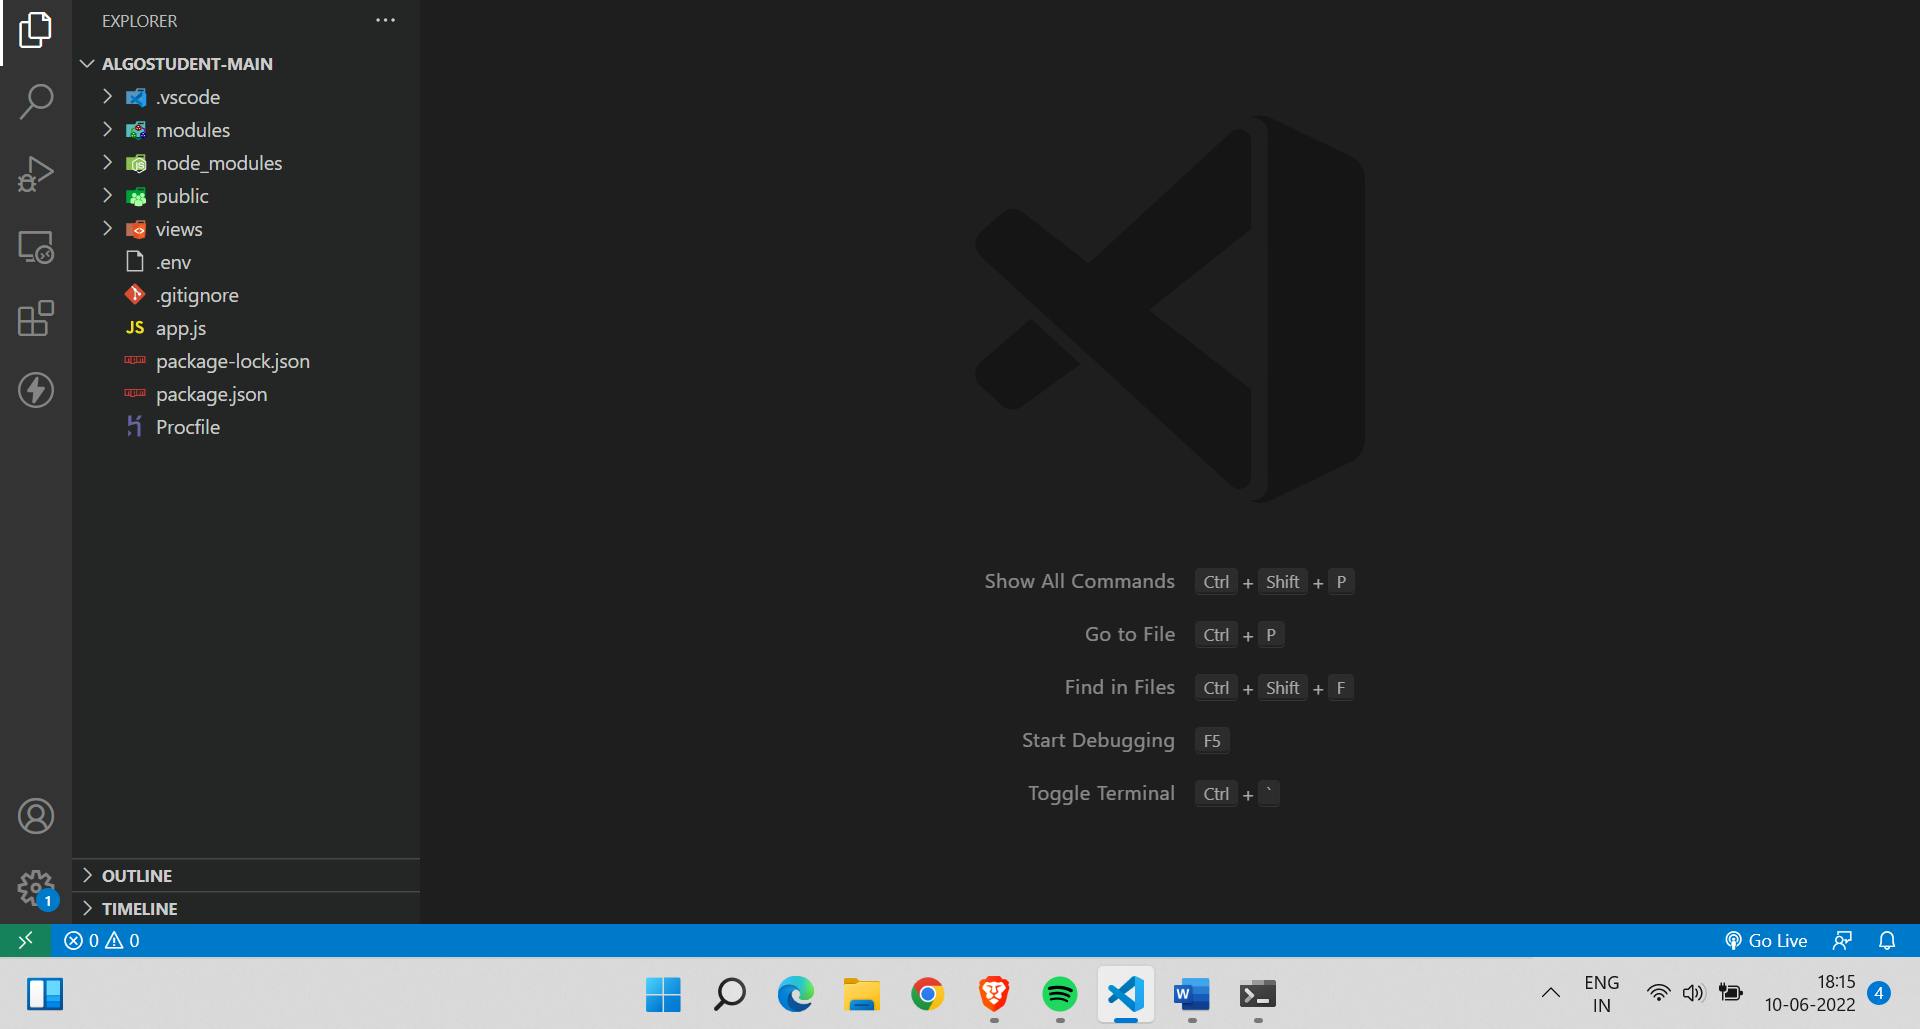
What you see below is the Terminal application I am referring to
Once the application is opened, we can rename the tab by right clicking on it.
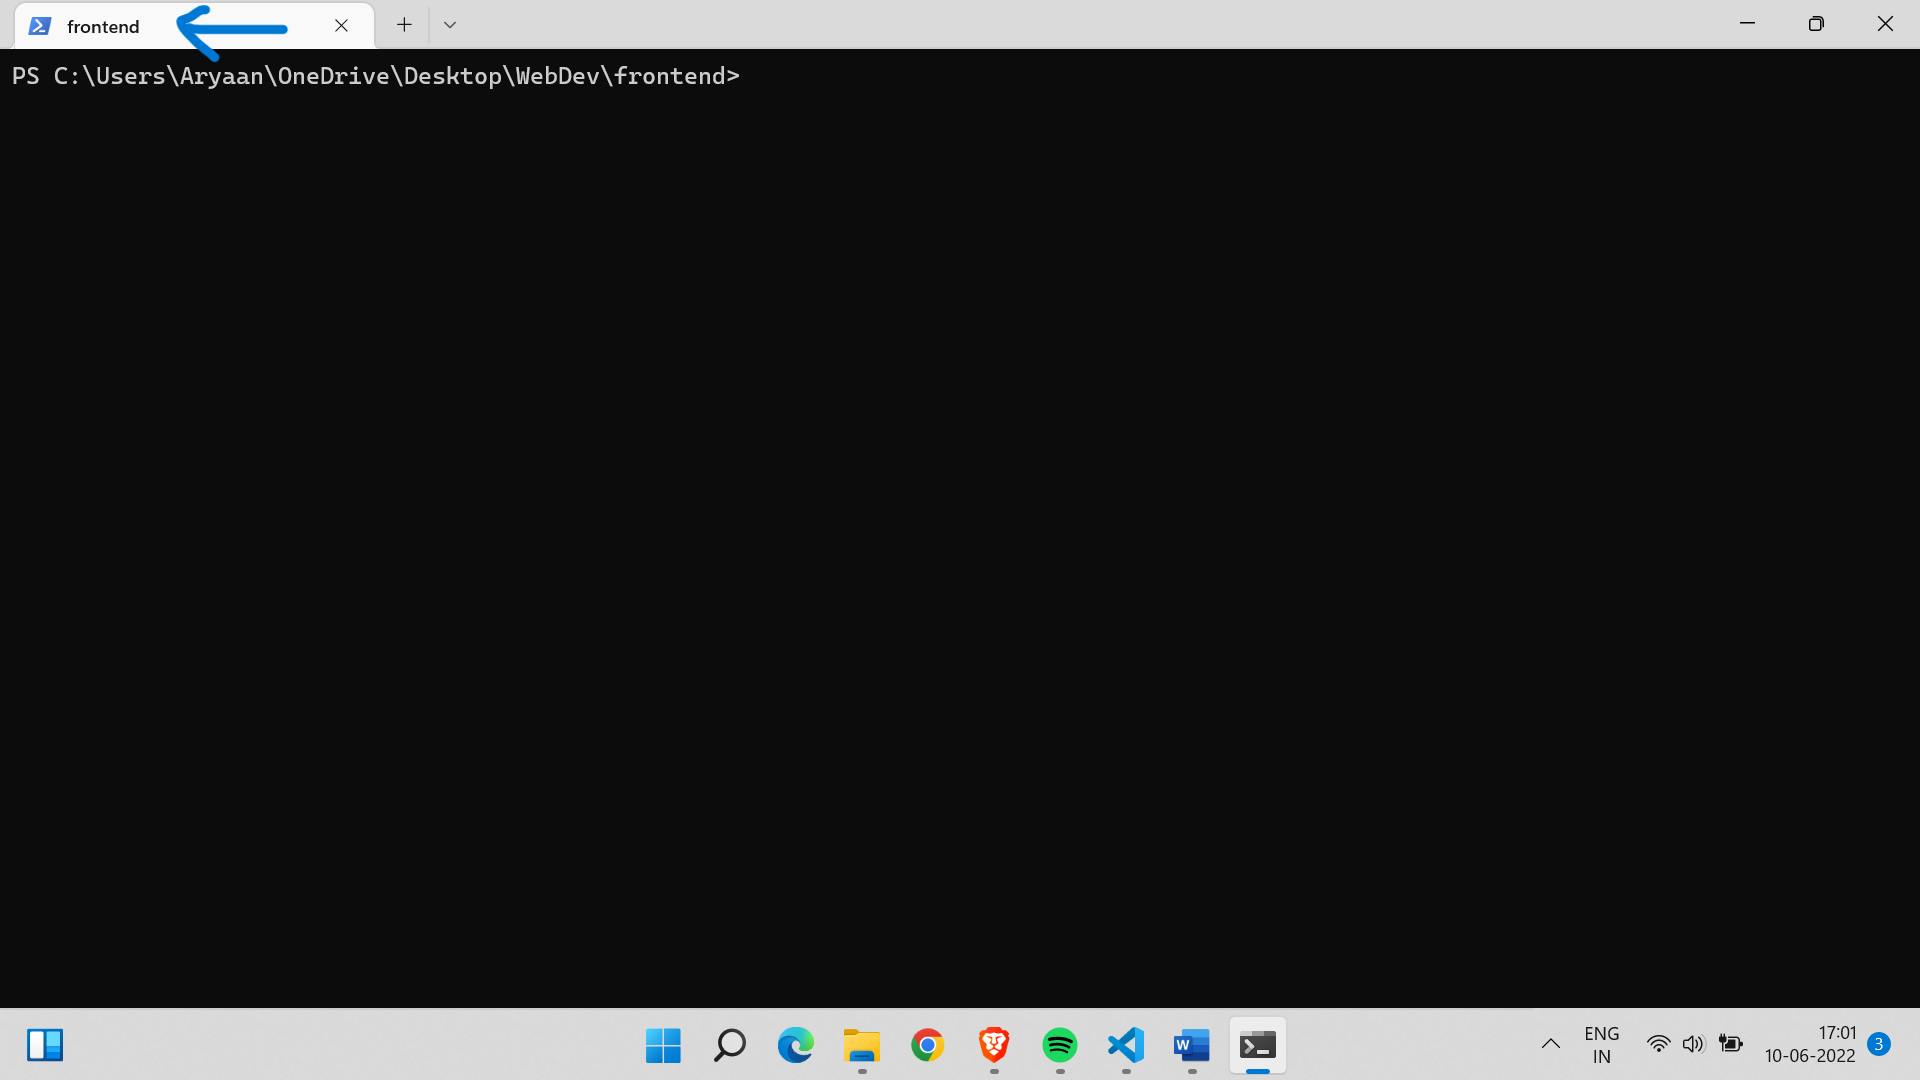
I can now create new tabs for my backend and database
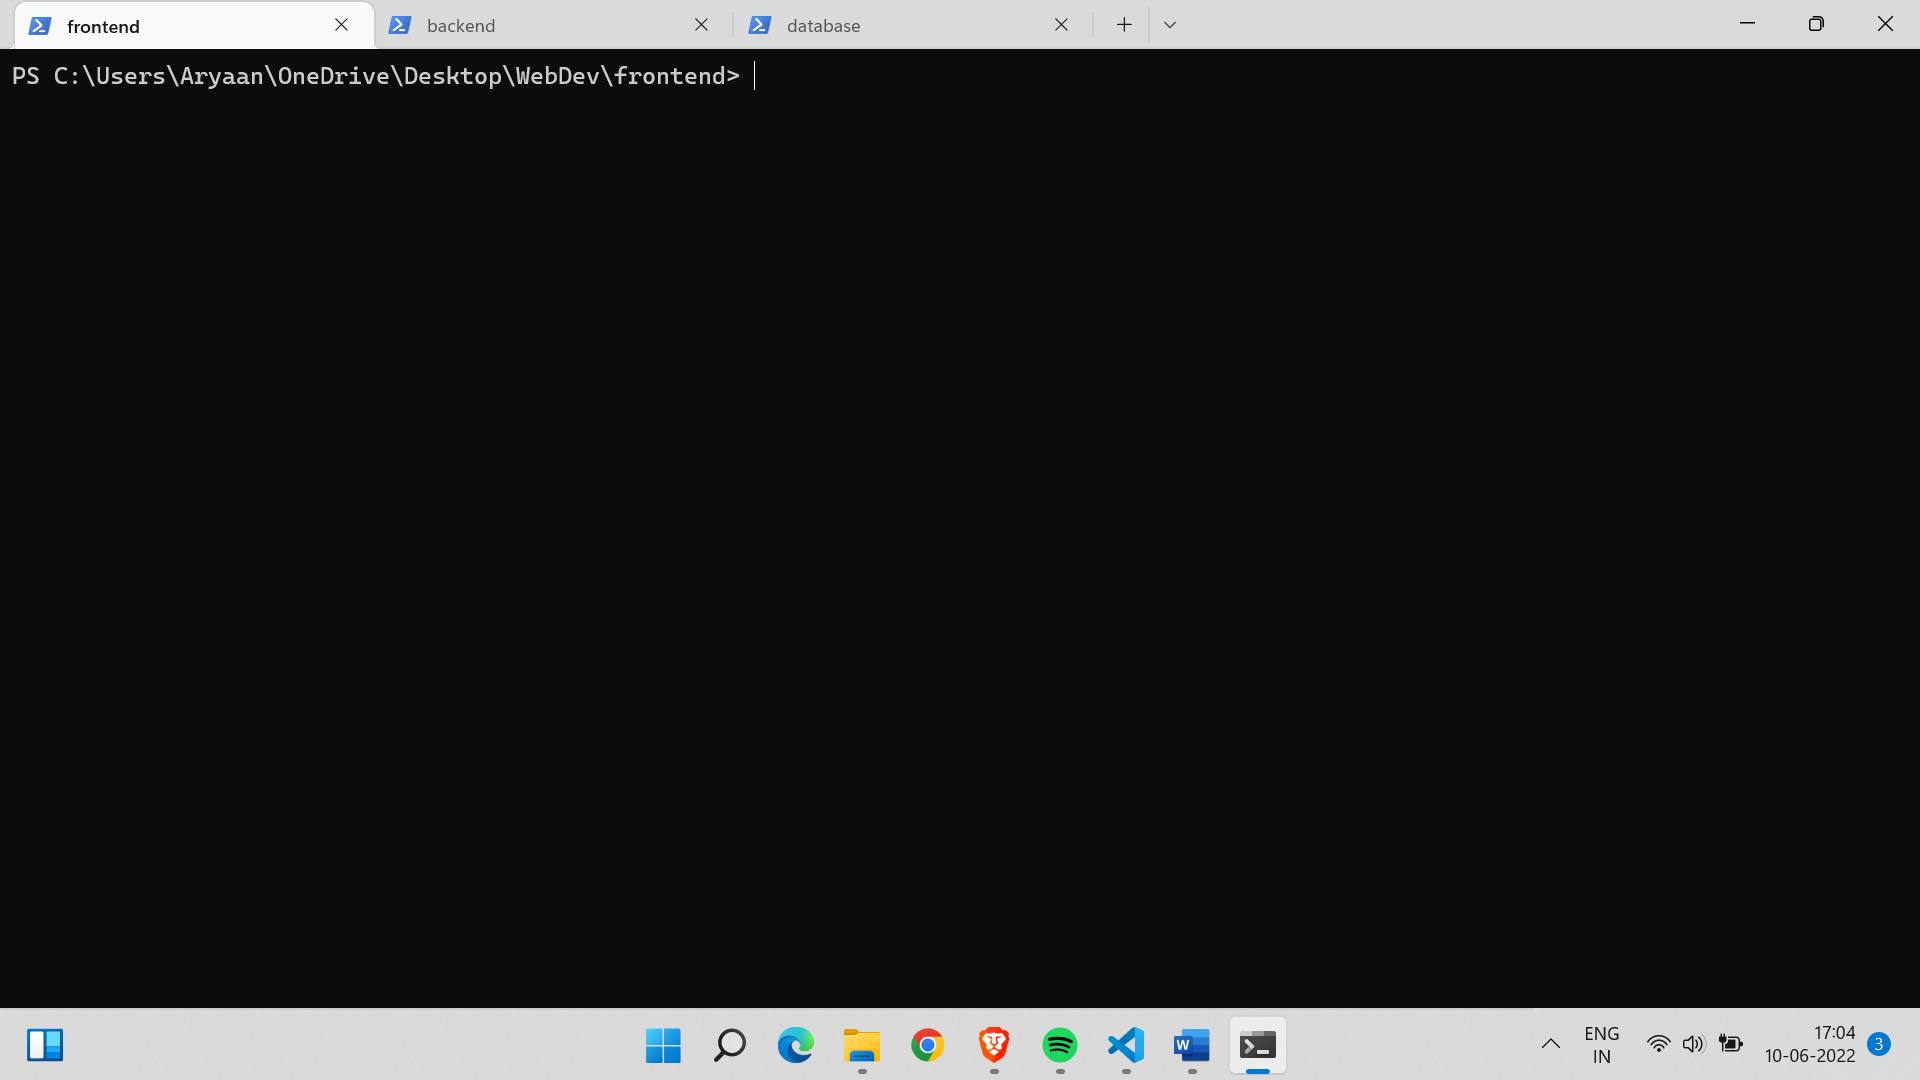
With this done, navigation is extremely easy and all my commands are organized. The tabs can also be colored for further distinction
Thunderclient
If you are a backend developer who creates APIs, testing routes to see if they return the desired output as a response is crucial. If you cannot interact with the backend from a frontend (if it is not yet created), API platforms such as Postman must be used.
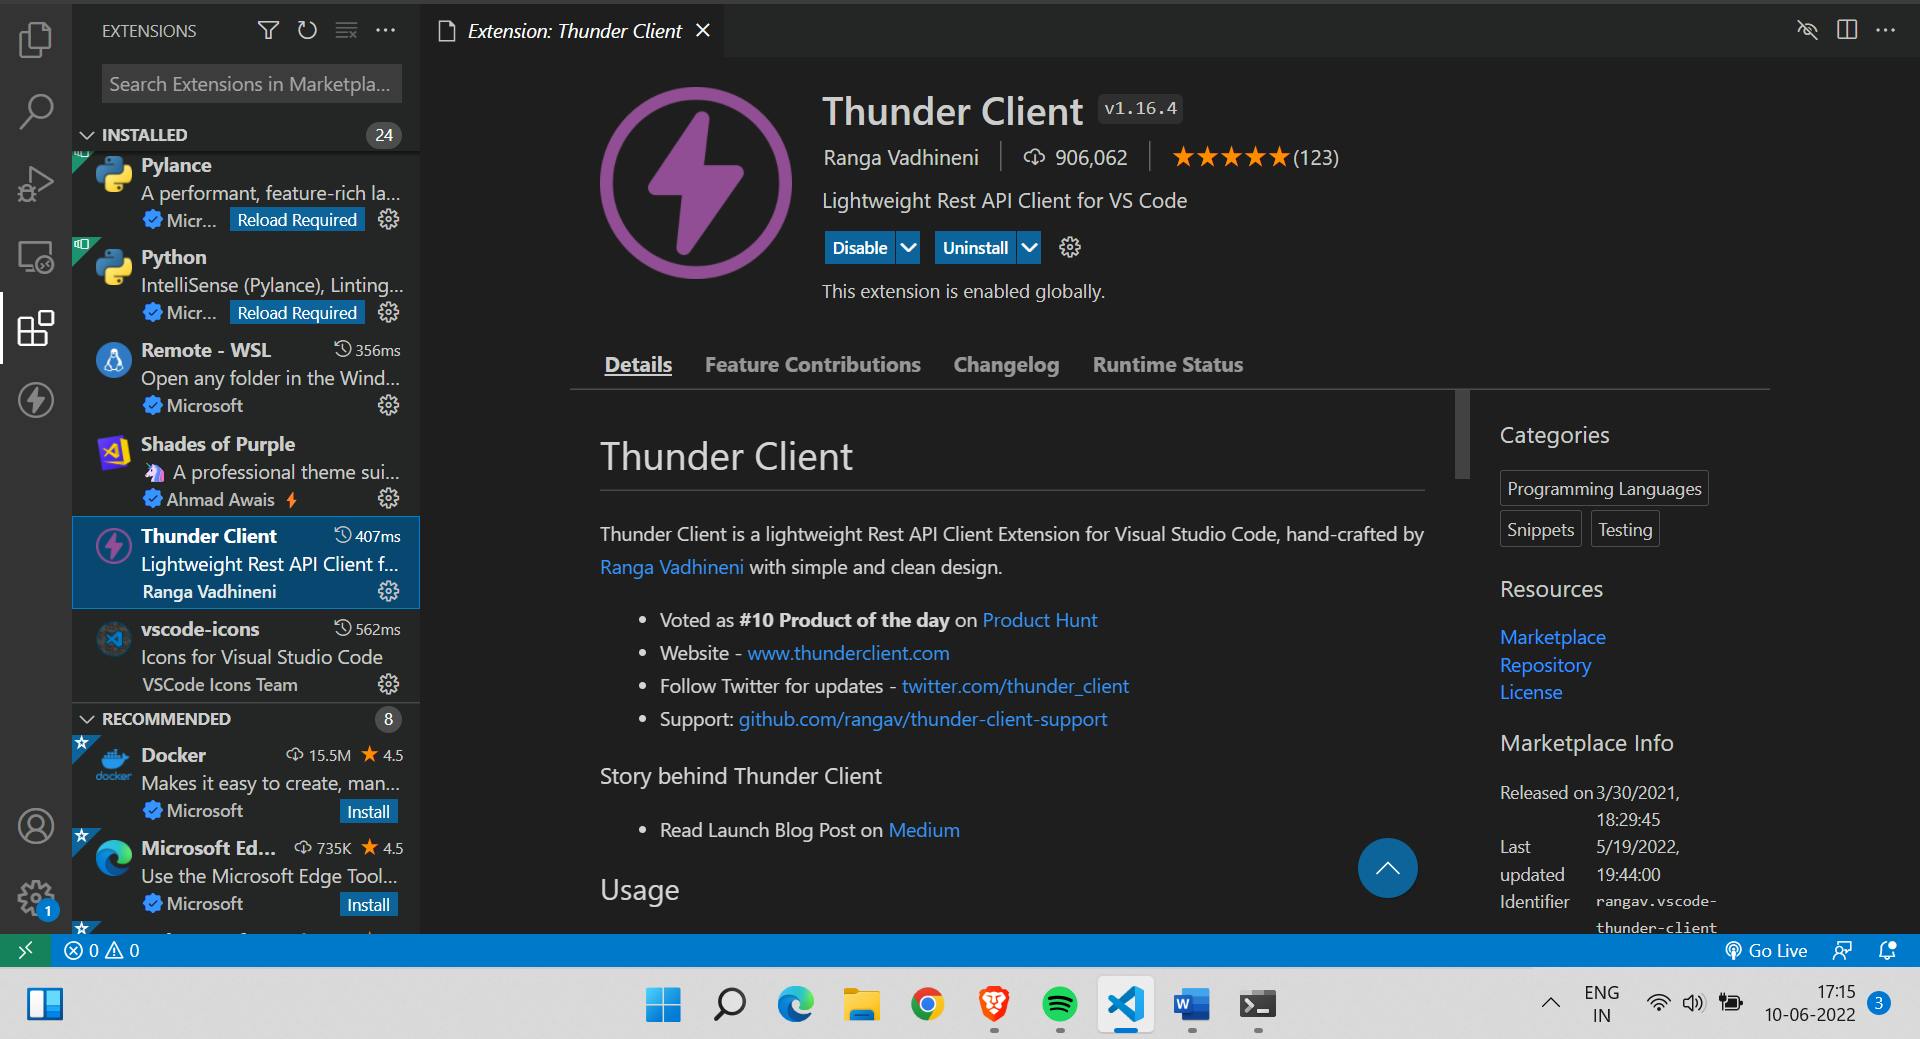
However, if you use Visual Studio Code as your development environment, there is good news ! This editor has its own extension called thunderclient that can be used to test a backend — without the need for another application like Postman.
By using the shortcut Ctrl + Shift + X, you will be displayed a search bar where you can find the extension
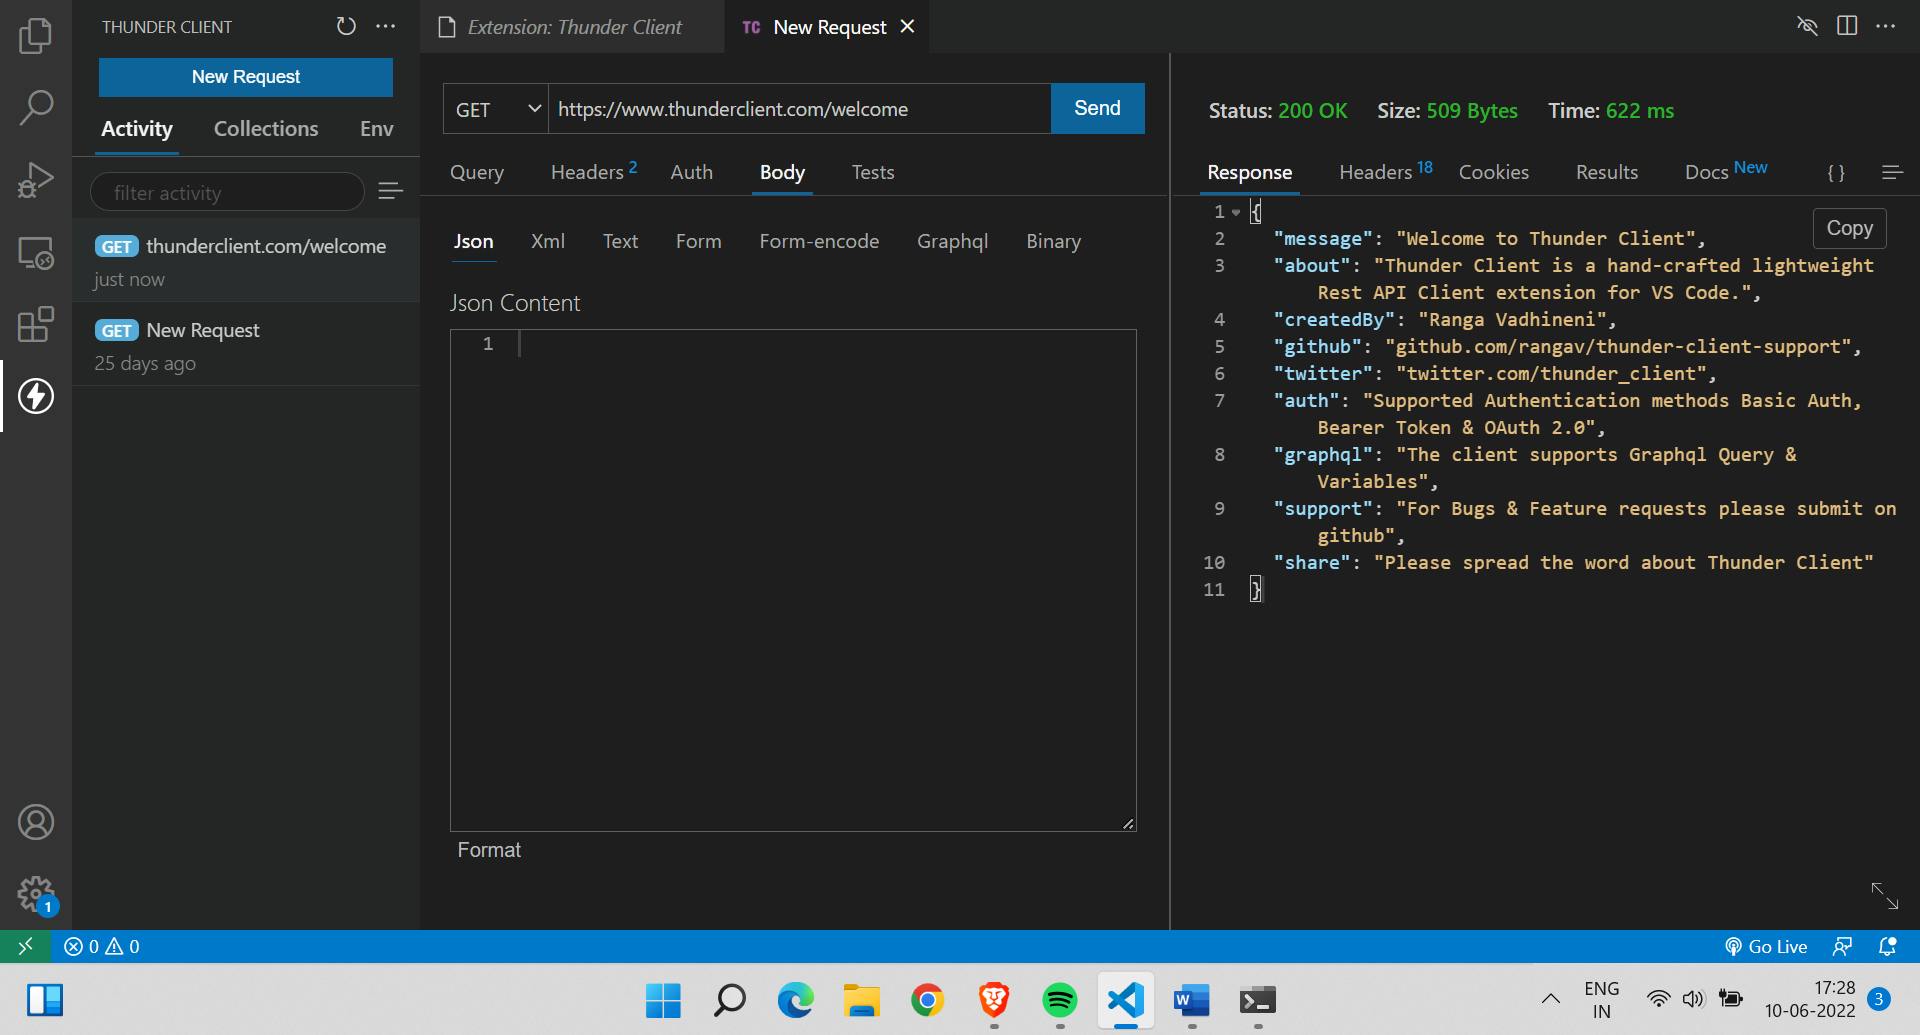
After installing the package, you will find a thunder client icon that you can open using the shortcut Ctrl + Shift + R.
After doing so, you can create a new request and send some data as JSON or any other format in the body tab. These requests can be renamed as well — for ease of use.
Faker
If you are a frontend developer creating user interfaces and designs, this tool will be a boon for you. Normally, when creating an element, you may require to put in some dummy text to see how the final output looks like.
Smashing various keys can help generate these random texts. But with Faker.js, you can easily find fake text to put as component text. To use this package, simply link to its file using the script tag
<script type="text/javascript" src="https://unpkg.com/@faker-js/faker"></script>

<script>
  // Caitlyn Kerluke
  const randomName = faker.name.findName();

  // Rusty@arne.info
  const randomEmail = faker.internet.email();
</script>
From the above code, a random name and email is generated and can be used as dummy text. Here is the link for further documentation of this package (it can also be used with node js)
VS Code Icons
The vscode-icons extension of VS Code adds different icons to folders based on their name. This package helps enhance your coding workspace since it differentiates folders.
Use the command Ctrl + Shift + X to open extensions search bar. Find this extension and install it.
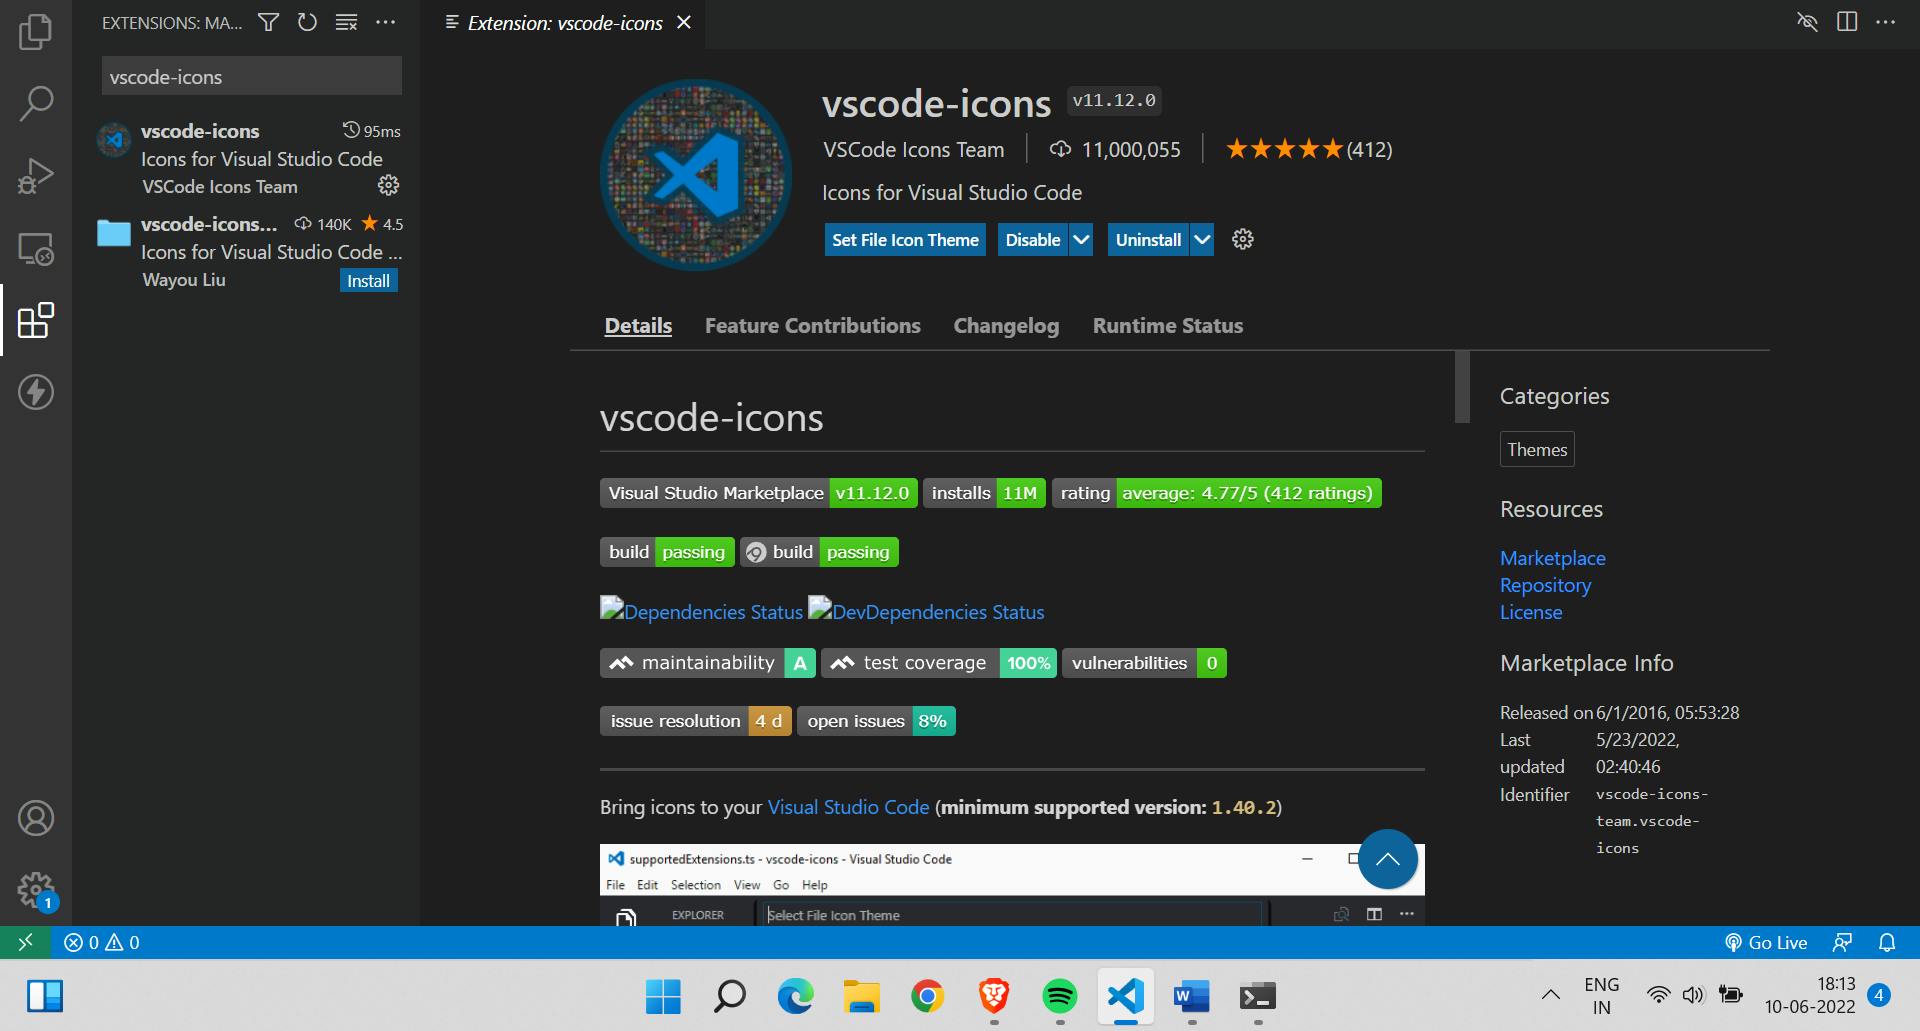
After doing this, click on the 'Set File Icon Theme' and choose the VSCode icons option. Now, there will be a change in your display.
Initially, your repository may look like this without the extension
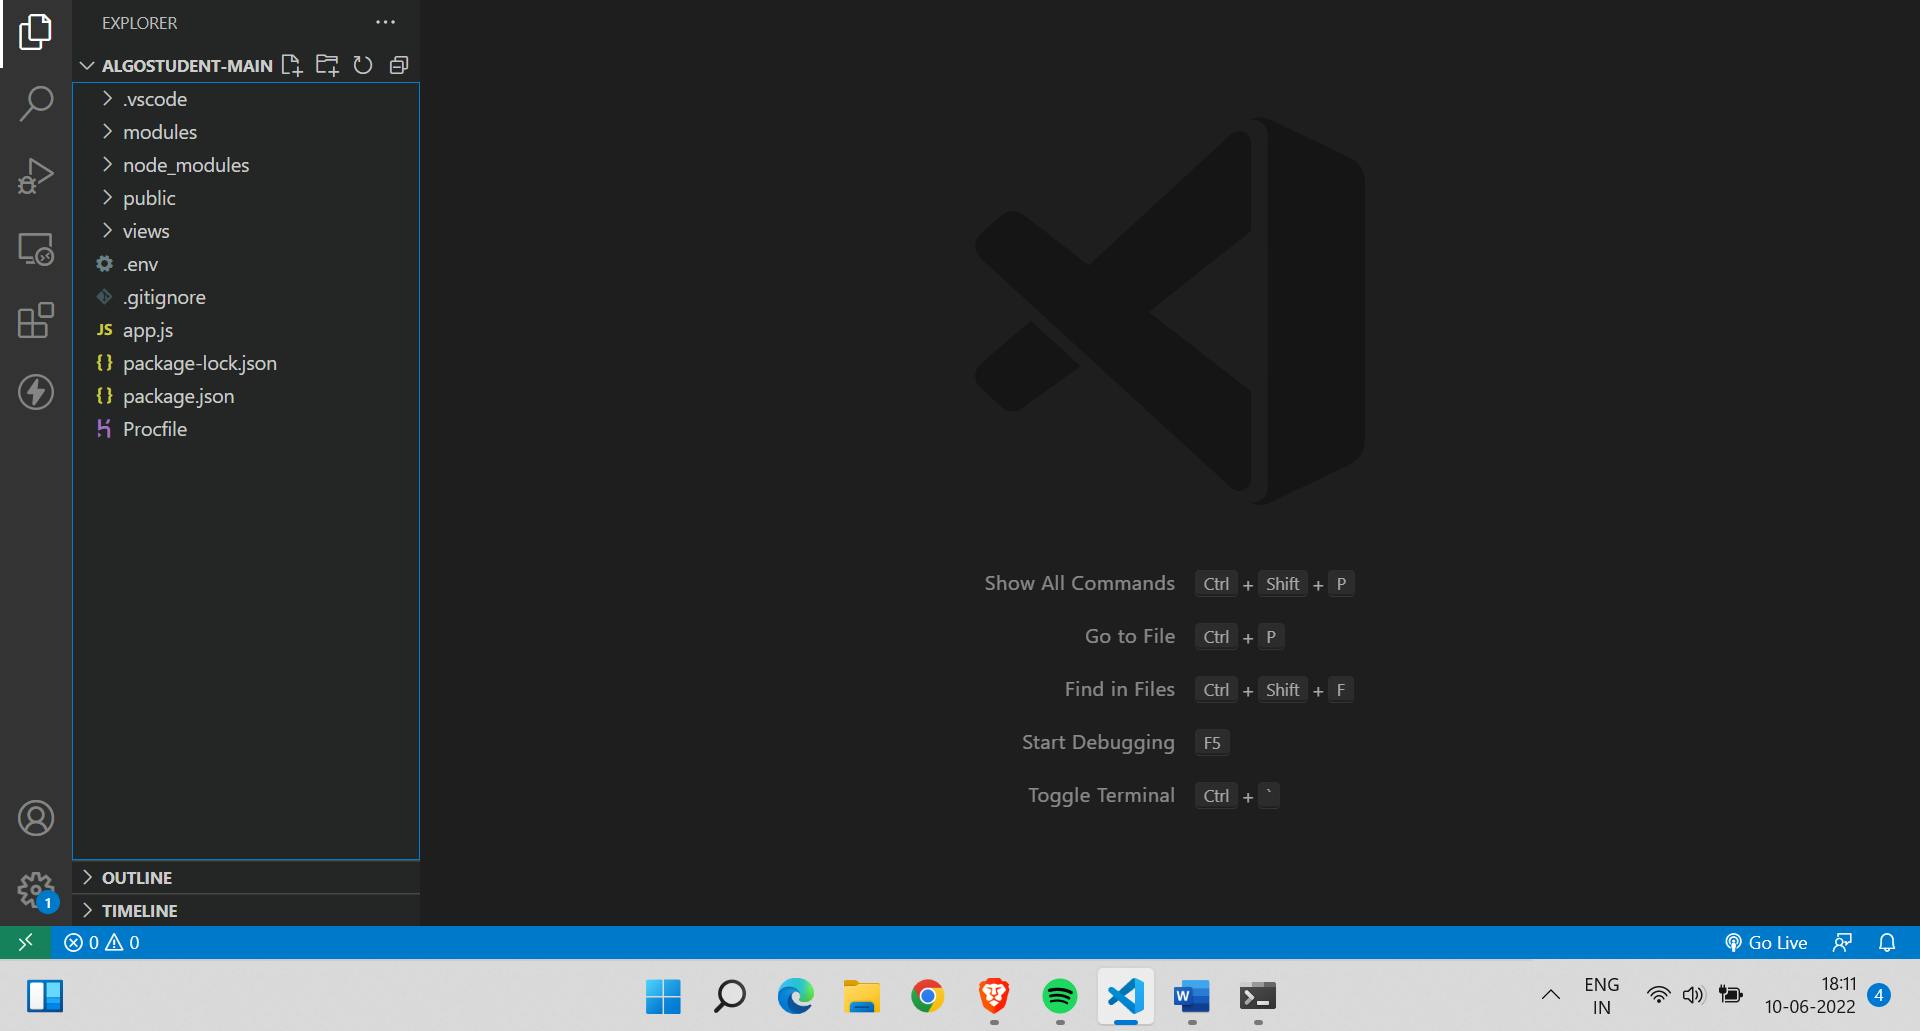
Now, it will look like this
Auto Rename Tag
If you know HTML, you must know for a fact that most tags contain starting and closing tags. But say that you want to change a paragraph tag to a heading tag in your VS Code editor. Then, the name of both the starting and ending tag must be altered. For a smoother programming experience, a package called auto rename tag was created.
This extension automatically changes the ending tag text based on how you alter your starting tag
You can search for this extension on visual studio code using the command shortcut Ctrl + Shift + X. Try writing some HTML with this new package now.
Conclusion
Although this is it from this blog, make sure to stay tuned because I will be creating similar blogs that provide you with helpful tips in your coding journey. Thank you for reading and happy coding !